How to Test TradingView Alerts to Tradovate Before Trading Live
Use a Tradovate Demo account and CrossTrade Alert History to test a TradingView webhook before you consider a live workflow.

A live account is the most expensive place to find a missing semicolon. The first time a new alert fires, something small is usually wrong: leftover text in the message box, an account name with a typo, a bracket written as a price when you meant a distance. On a Demo account that mistake costs nothing. On a funded account it can cost the account.
The good news is that a Tradovate Demo account runs the exact same route as Live. The alert leaves TradingView, CrossTrade checks it and sends the order to Tradovate's cloud API, and Tradovate places it. The only difference is that the fill is simulated. So a Demo test proves everything that can actually break: your syntax, your account name, your bracket, and your exits.
This guide walks through a full test in six steps, and shows what a passing result looks like at each one.
Why Demo is the right place to test
Tradovate runs two separate environments. Live holds real-money brokerage accounts. Demo is the simulation environment: Tradovate's own sim accounts live there, and so does every prop firm account, funded ones included.
For automation, the two behave the same way. The webhook, the checks CrossTrade runs, the order CrossTrade sends and the way Tradovate handles it are identical. What Demo can't tell you is the exact fill price you'll get live, because the fill is simulated. That's fine. A test is there to prove the wiring, not to predict slippage.
One caution for prop traders: an evaluation account is a Demo account, but it isn't free to test on. A test trade on an evaluation counts toward its drawdown and trading rules. If you can, run your first tests on a plain Tradovate sim account, and point the alert at the evaluation only once everything passes.
Step 1: Link your Tradovate Demo login
In CrossTrade, open My Account → Brokers (or the Tradovate onboarding page) and click Link Demo. Sign in with your Tradovate Demo login, or with the username and password your prop firm issued. Firm-issued logins only work through Link Demo; Link Live is only for a personal real-money brokerage login.
After the redirect, the login appears with a DEMO tag and CrossTrade syncs its accounts. Note the exact account name shown there, such as DemoAccount or PROP1234. That name goes into your alert, character for character.
The full walkthrough, including multiple logins and what to do when a session expires, is in Linking Your Tradovate Account.
Step 2: Fire one order from the browser first
Before TradingView is involved at all, open the Webhook Trader on the Tradovate Webhooks page. It comes pre-loaded with a working market order, your secret key and your first linked account already filled in.
Send it once. If the order shows up in Tradovate, you know your link, your key and your account name are good. That splits the problem in half: anything that fails from here on is on the TradingView side, not the broker side.
Step 3: Build the TradingView alert
Open a chart in TradingView and create an alert. For the condition, pick something that fires soon, such as price crossing a level just above or below the market. CrossTrade's free True OHLC test indicator fires on every bar, which makes it handy for a quick test.
Delete everything in the Message box. TradingView pre-fills it with default text, and that text will break the alert. Then paste your command:
key=your-secret-key;
command=PLACE;
account=DemoAccount;
instrument=MES1!;
action=BUY;
qty=1;
order_type=MARKET;
tif=DAY;
flatten_first=true;
destination=tradovate;
Replace your-secret-key with the key from your My Account page and DemoAccount with the account name from Step 1. destination=tradovate; is the line that routes the order to Tradovate instead of NinjaTrader 8. flatten_first=true; closes any open position on the contract before each new entry, so repeated test fires don't stack contracts.
On the Notifications tab, tick Webhook and paste your CrossTrade webhook URL. Webhooks need a paid TradingView plan and two-factor authentication; TradingView will prompt you to turn on 2FA the first time. Save the alert.
Step 4: Check the three places a passing test shows up
When the alert fires, check three places.
TradingView's alert log. Open the alerts panel and switch to Log. The alert should be listed with the time it fired. If it isn't there, TradingView never sent anything, and no setting in CrossTrade will fix that.
CrossTrade Alert History. Open Alert History. A passing test shows a green Success row with a blue Tradovate badge next to the command. The badge is your proof the order went to Tradovate and not NinjaTrader. A red row carries the reason in its status message.
Tradovate itself. The order, the fill and the position appear in your Tradovate account, marked as placed by CrossTrade.
One detail matters here. Tradovate can accept an order and then reject it a moment later in its own risk layer, most often because a price sits outside the exchange's price bands. CrossTrade re-checks each order a few seconds after Tradovate accepts it and turns the Alert History row yellow, with Tradovate's reason, if that happens. A green row means accepted. Glance back a few seconds later to be sure it stayed that way.
Step 5: Add a bracket and watch both legs
Most live setups carry a take-profit and a stop, so test those too. Add two lines to the same alert:
take_profit=40 ticks;
stop_loss=20 ticks;
Write the unit. On Tradovate, take_profit=40 ticks; means 40 ticks from the entry, but take_profit=40; with no unit means a price of 40. That is one of the most common reasons a first bracket fills instantly or gets rejected, and it's exactly the kind of mistake a Demo test exists to catch. Points (5pt), percentages and dollar values work too.
When the alert fires, check Tradovate for two exit orders linked to your entry: a limit for the target and a stop for the stop-loss. They're linked as a pair, so when one fills the other is cancelled. Both legs live on Tradovate's servers, so they keep working with your computer off. On Tradovate, the bracket prices are fixed when the order is sent, measured from the live quote for a market entry, not recalculated from your fill.
For scale-outs, breakeven and trailing stops, see Order Types and Exits on Tradovate.
Step 6: Test the way out, not just the way in
Entries get all the attention, but exits are where a live account gets hurt. Test both before you trust the setup.
To test a close, send a close alert while a test position is open:
key=your-secret-key;
command=CLOSEPOSITION;
account=DemoAccount;
instrument=MES1!;
destination=tradovate;
The position should go flat. On Tradovate, a full close also cancels that contract's working orders, so the bracket from Step 5 should disappear with it. If an exit order is still resting after the close, you'd want to know that now, not on a live account.
To test a cancel, place a limit order a few points below the market, far enough that it won't fill but not so far that Tradovate rejects it for being outside the price bands. Then send:
key=your-secret-key;
command=CANCELORDERS;
account=DemoAccount;
instrument=MES1!;
destination=tradovate;
The working order should be cancelled and nothing else touched.
If something fails
Most failures leave a clear trail in Alert History. "Improperly formatted request" usually means a missing semicolon or leftover default text in the message box. An account error means the name in the alert doesn't match a linked account exactly. An authorization error means the Tradovate session expired or was signed out elsewhere; click Link Demo again and it's fixed in seconds. If nothing shows up in Alert History at all, the webhook URL is wrong or TradingView never sent the alert.
For the full diagnostic path, work through TradingView Alert Fired but Tradovate Did Not Trade: A Practical Troubleshooting Checklist.
Moving from Demo to Live
Once every step passes, going live is one line: change account= to your live or funded account name, and leave everything else exactly as tested. A personal real-money account needs Link Live; a prop firm's funded account stays on Demo, so it's already linked.
Watch Alert History for the first few live alerts, and keep a stop on every entry. The route is the same one you just proved.
Frequently asked questions
Can I test TradingView alerts without risking money?
Yes. Link Tradovate's Demo environment and point the alert at a Demo account. The route from TradingView to the order is identical to Live, and a simulated fill costs nothing.
Is a Tradovate Demo account the same as Live for automation?
The alert, the checks and the order path are the same. Fills are simulated, so a Demo test proves the workflow, not the fill price you will get live.
Are prop firm accounts Demo accounts on Tradovate?
Yes. Prop firm accounts, funded ones included, live on Tradovate's Demo environment, so they link through Link Demo with the login the firm issued.
Do I need a paid TradingView plan to test webhook alerts?
Yes. TradingView only sends webhooks on paid plans, and it requires two-factor authentication on your account before it will send one.
What should a passing test show?
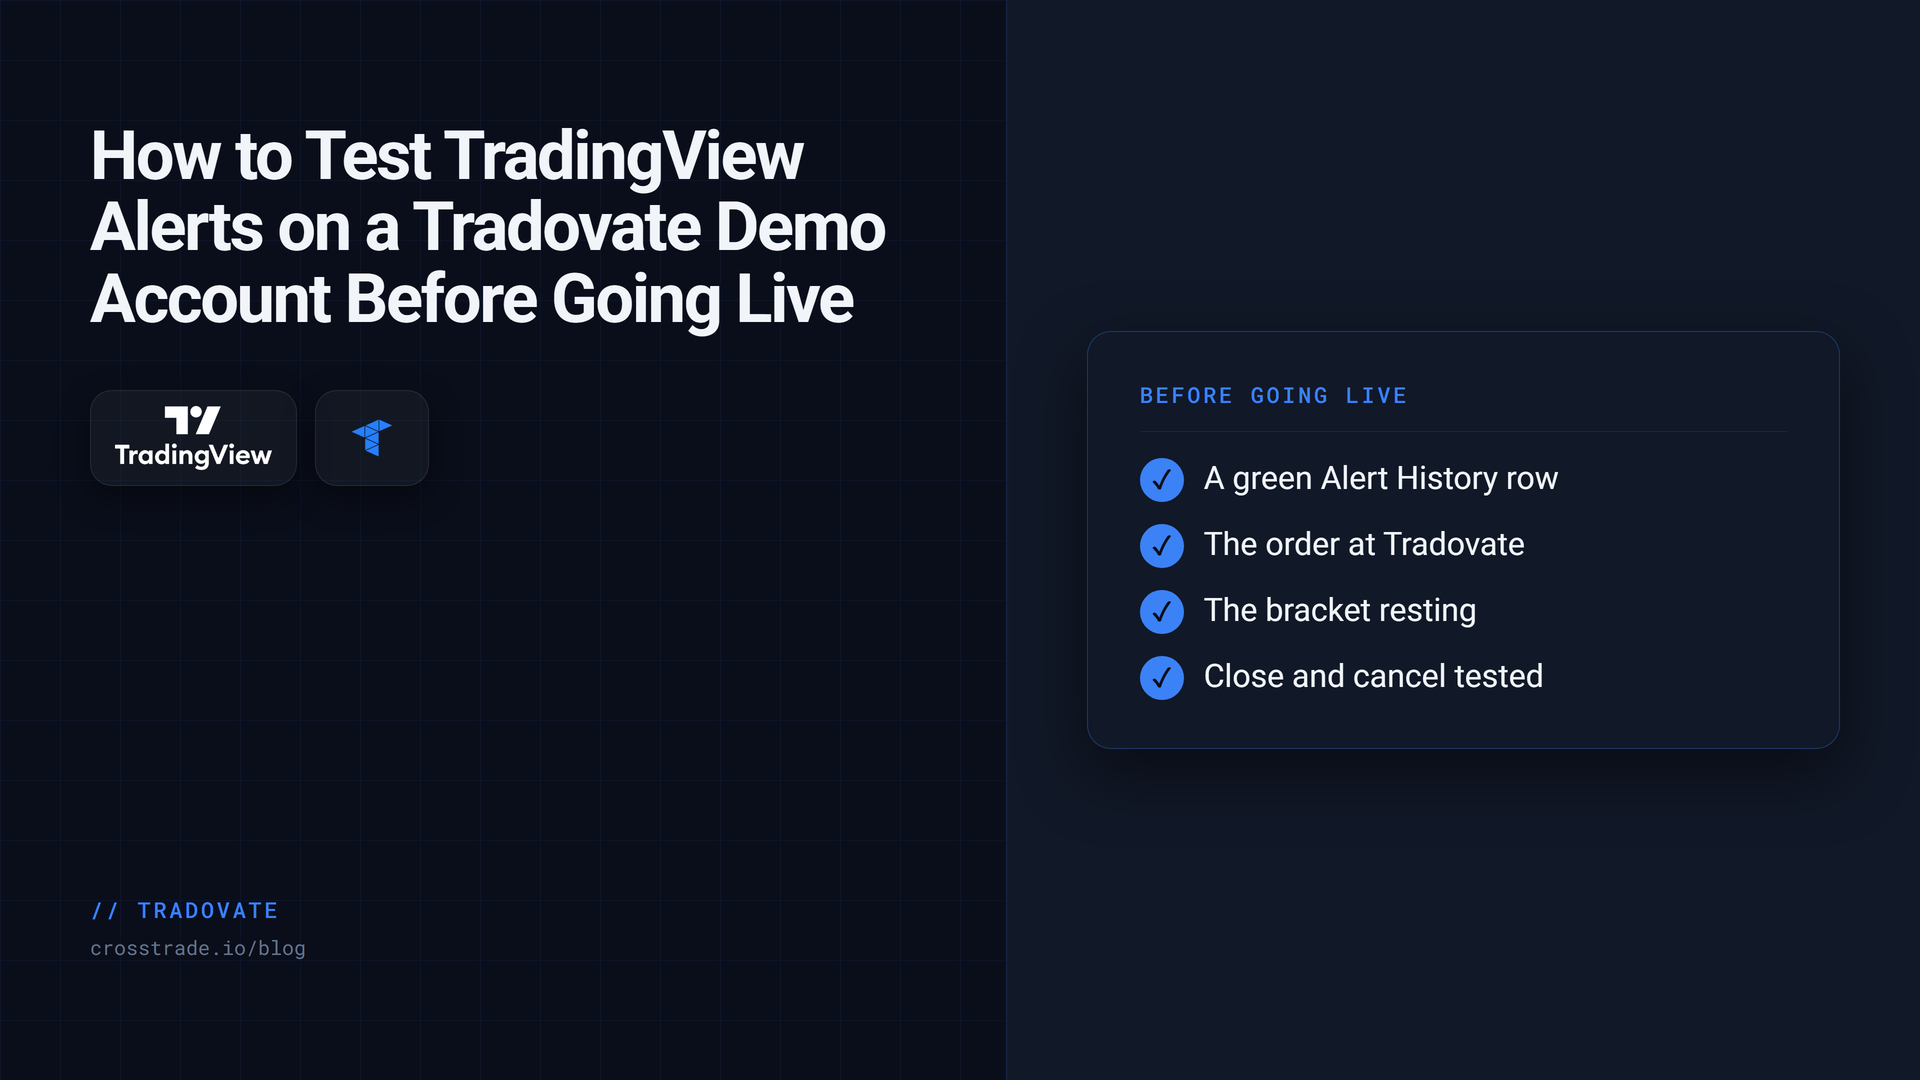
A success row in Alert History with a Tradovate badge, the order in your Tradovate account, and any bracket resting at the broker. Then test the close and the cancel too.
Start testing
New to CrossTrade? Start your free 7-day trial, link your Tradovate Demo login, and run this test before your first live alert. The step-by-step reference is Your First Automated Trade on Tradovate, and questions are welcome in the CrossTrade Discord.
CrossTrade is execution and automation software, not a broker, financial adviser, or trading strategy. Futures trading involves substantial risk. Test every automated workflow in simulation and verify orders at your broker.