Getting Started: Open your first NinjaTrader position from TradingView
Follow along as we install the CrossTrade Add-On, create a TradingView webhook alert, and open our first futures position on NinjaTrader 8 in under 10 minutes.
This is the QuickStart. By the end of this post you'll have the CrossTrade Add-On installed inside NinjaTrader 8, a TradingView webhook alert configured, and a filled position on your sim account. The whole process takes about 10 minutes.
If you don't have a CrossTrade account yet, start your free 7-day trial before following along. No credit card required.
Step 1: Install the XT Add-On into NinjaTrader 8
Download the Add-On from crosstrade.io/download. Once downloaded, open NinjaTrader and go to Tools > Import > NinjaScript Add-On. Select the downloaded file and import it.
Before you restart NinjaTrader, enable the Automated Trading Interface (ATI). Go to Tools > Options > Automated Trading Interface and make sure AT Interface is checked. Click Apply.
Now restart NinjaTrader. This is required — ATI won't activate until you do.
After the restart, open the CrossTrade Add-On from the Control Center: Control Center > New > CrossTrade. Log in with your CrossTrade email and password. You should see a green connection indicator once you're connected.
You'll also need a live data feed connected. This can be a NinjaTrader subscription, a prop firm evaluation account, or any broker connection that provides real-time futures data. Level 1 data is sufficient — Level 2 is not required.
Step 2: Find Your Webhook URL and Secret Key
Your webhook URL and secret key are on the My Account page inside your CrossTrade dashboard. You'll need both for the next step.
The webhook URL is what you'll paste into TradingView's alert notification settings. The secret key goes inside your alert message payload to authenticate the request. Copy both to your clipboard or keep the page open.

Step 3: Create a Webhook Alert in TradingView
Open TradingView and navigate to any chart. Click the Alert button in the top toolbar (or press Alt + A) to open the alert creation window.
Set your condition. For this walkthrough, pick something simple that will trigger quickly so you can see the full cycle in action. A price crossing above or below a nearby level works well. This is a test — you're sending it to a sim account.
Add the webhook URL. Click on the Notifications tab. Check the Webhook URL box and paste in your CrossTrade webhook URL from Step 2.
Write the alert message. Click back to the Settings tab. In the Message field, delete any default text and paste the following command:
key=your-secret-key;
command=place;
account=sim101;
instrument=ES1!;
action=buy;
qty=1;
order_type=market;
tif=day;
Replace your-secret-key with the actual secret key from your account page. If you want to trade a different instrument, swap ES1! for NQ1!, MNQ1!, or whatever you're charting. The ES1! format uses Continuous Contracts, which automatically maps TradingView's symbol format to the current NinjaTrader contract month.
If you want NinjaTrader to manage your exit with an ATM strategy, add atm_strategy=YourTemplateName; to the message. The name must match exactly what's saved in NinjaTrader.
Create the alert. Give it a name, click Create, and wait for your condition to trigger.

Don't want to wait? You can test immediately using the Webhook Trader on the Webhooks tab of your CrossTrade dashboard. Paste the same command (without the webhook URL step) and send it directly to NinjaTrader.
Step 4: Watch It Fill
When TradingView fires the alert, three things happen in quick succession:
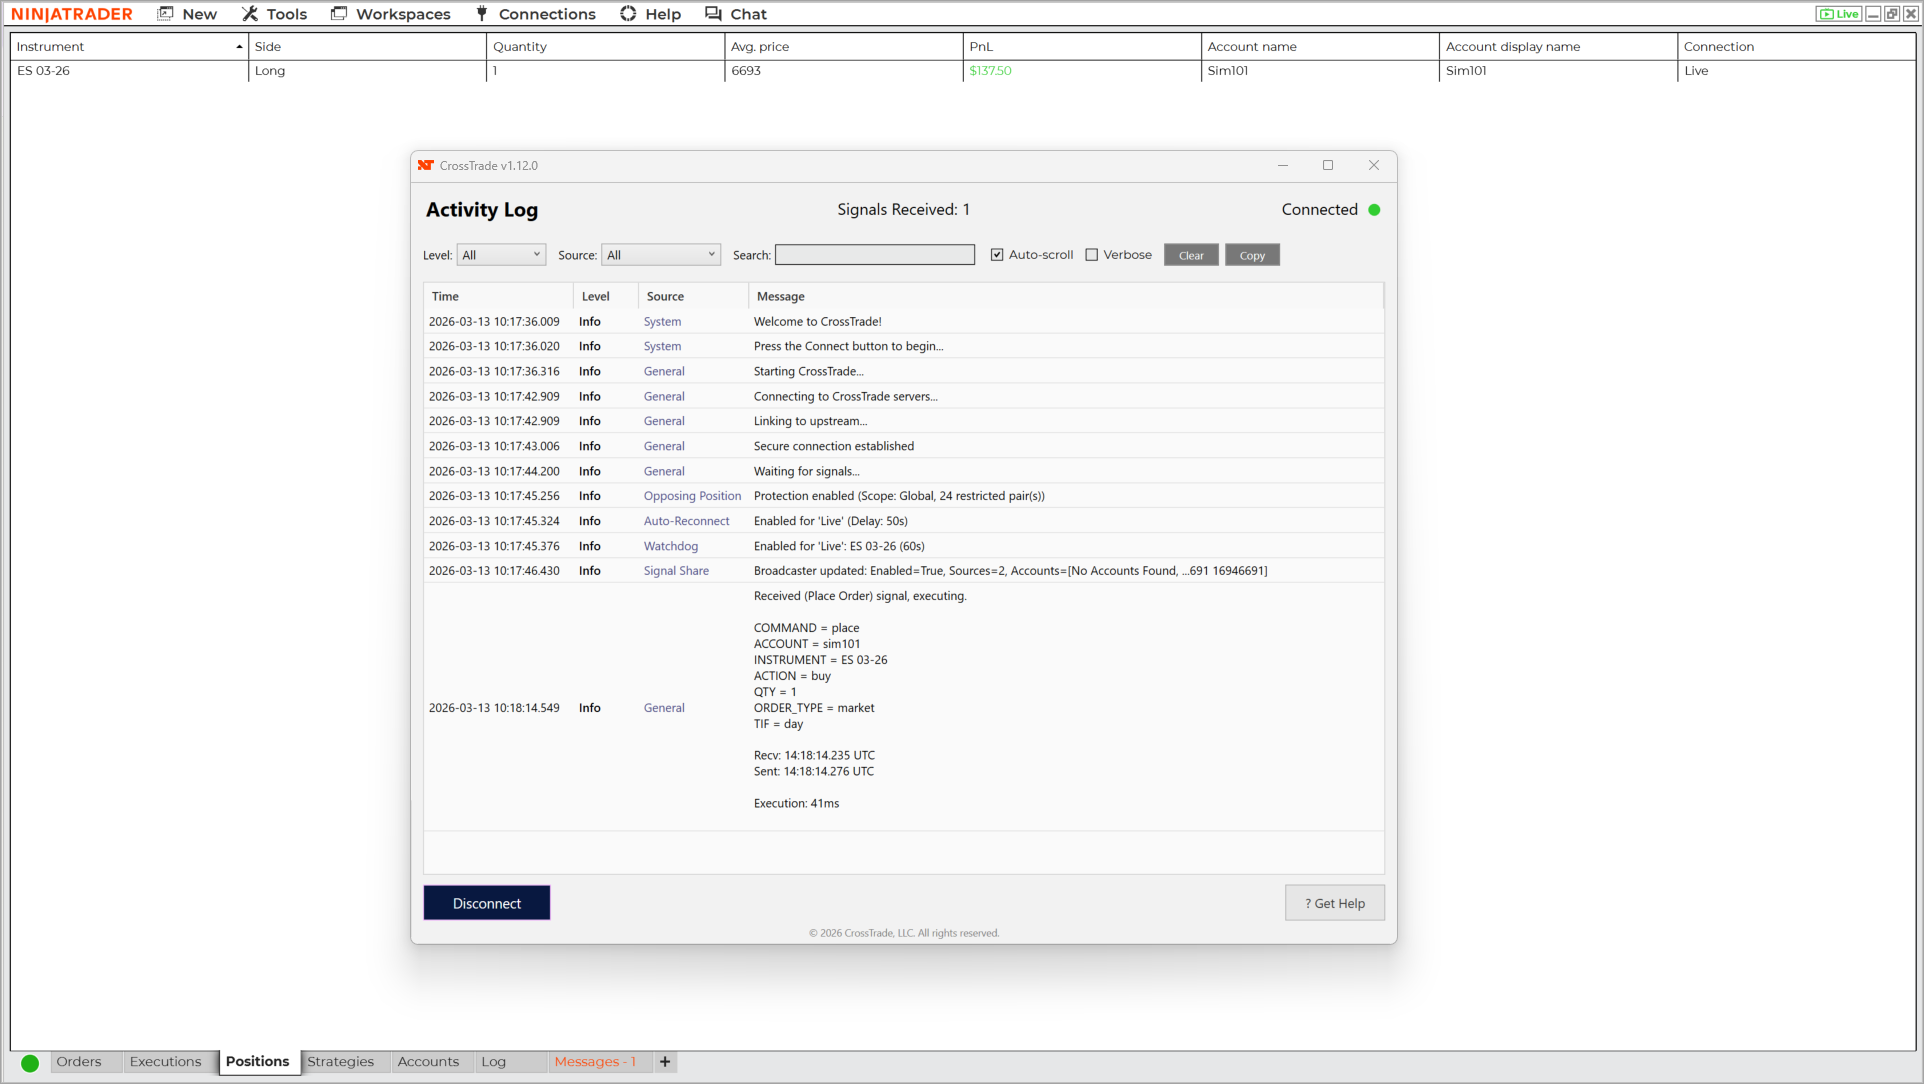
TradingView sends the webhook POST to CrossTrade's servers. CrossTrade validates the payload, authenticates your key, and pushes the instruction to the XT Add-On through the WebSocket connection. The Add-On submits the order through NinjaTrader's ATI. Average time from webhook to order instruction: 34 milliseconds.
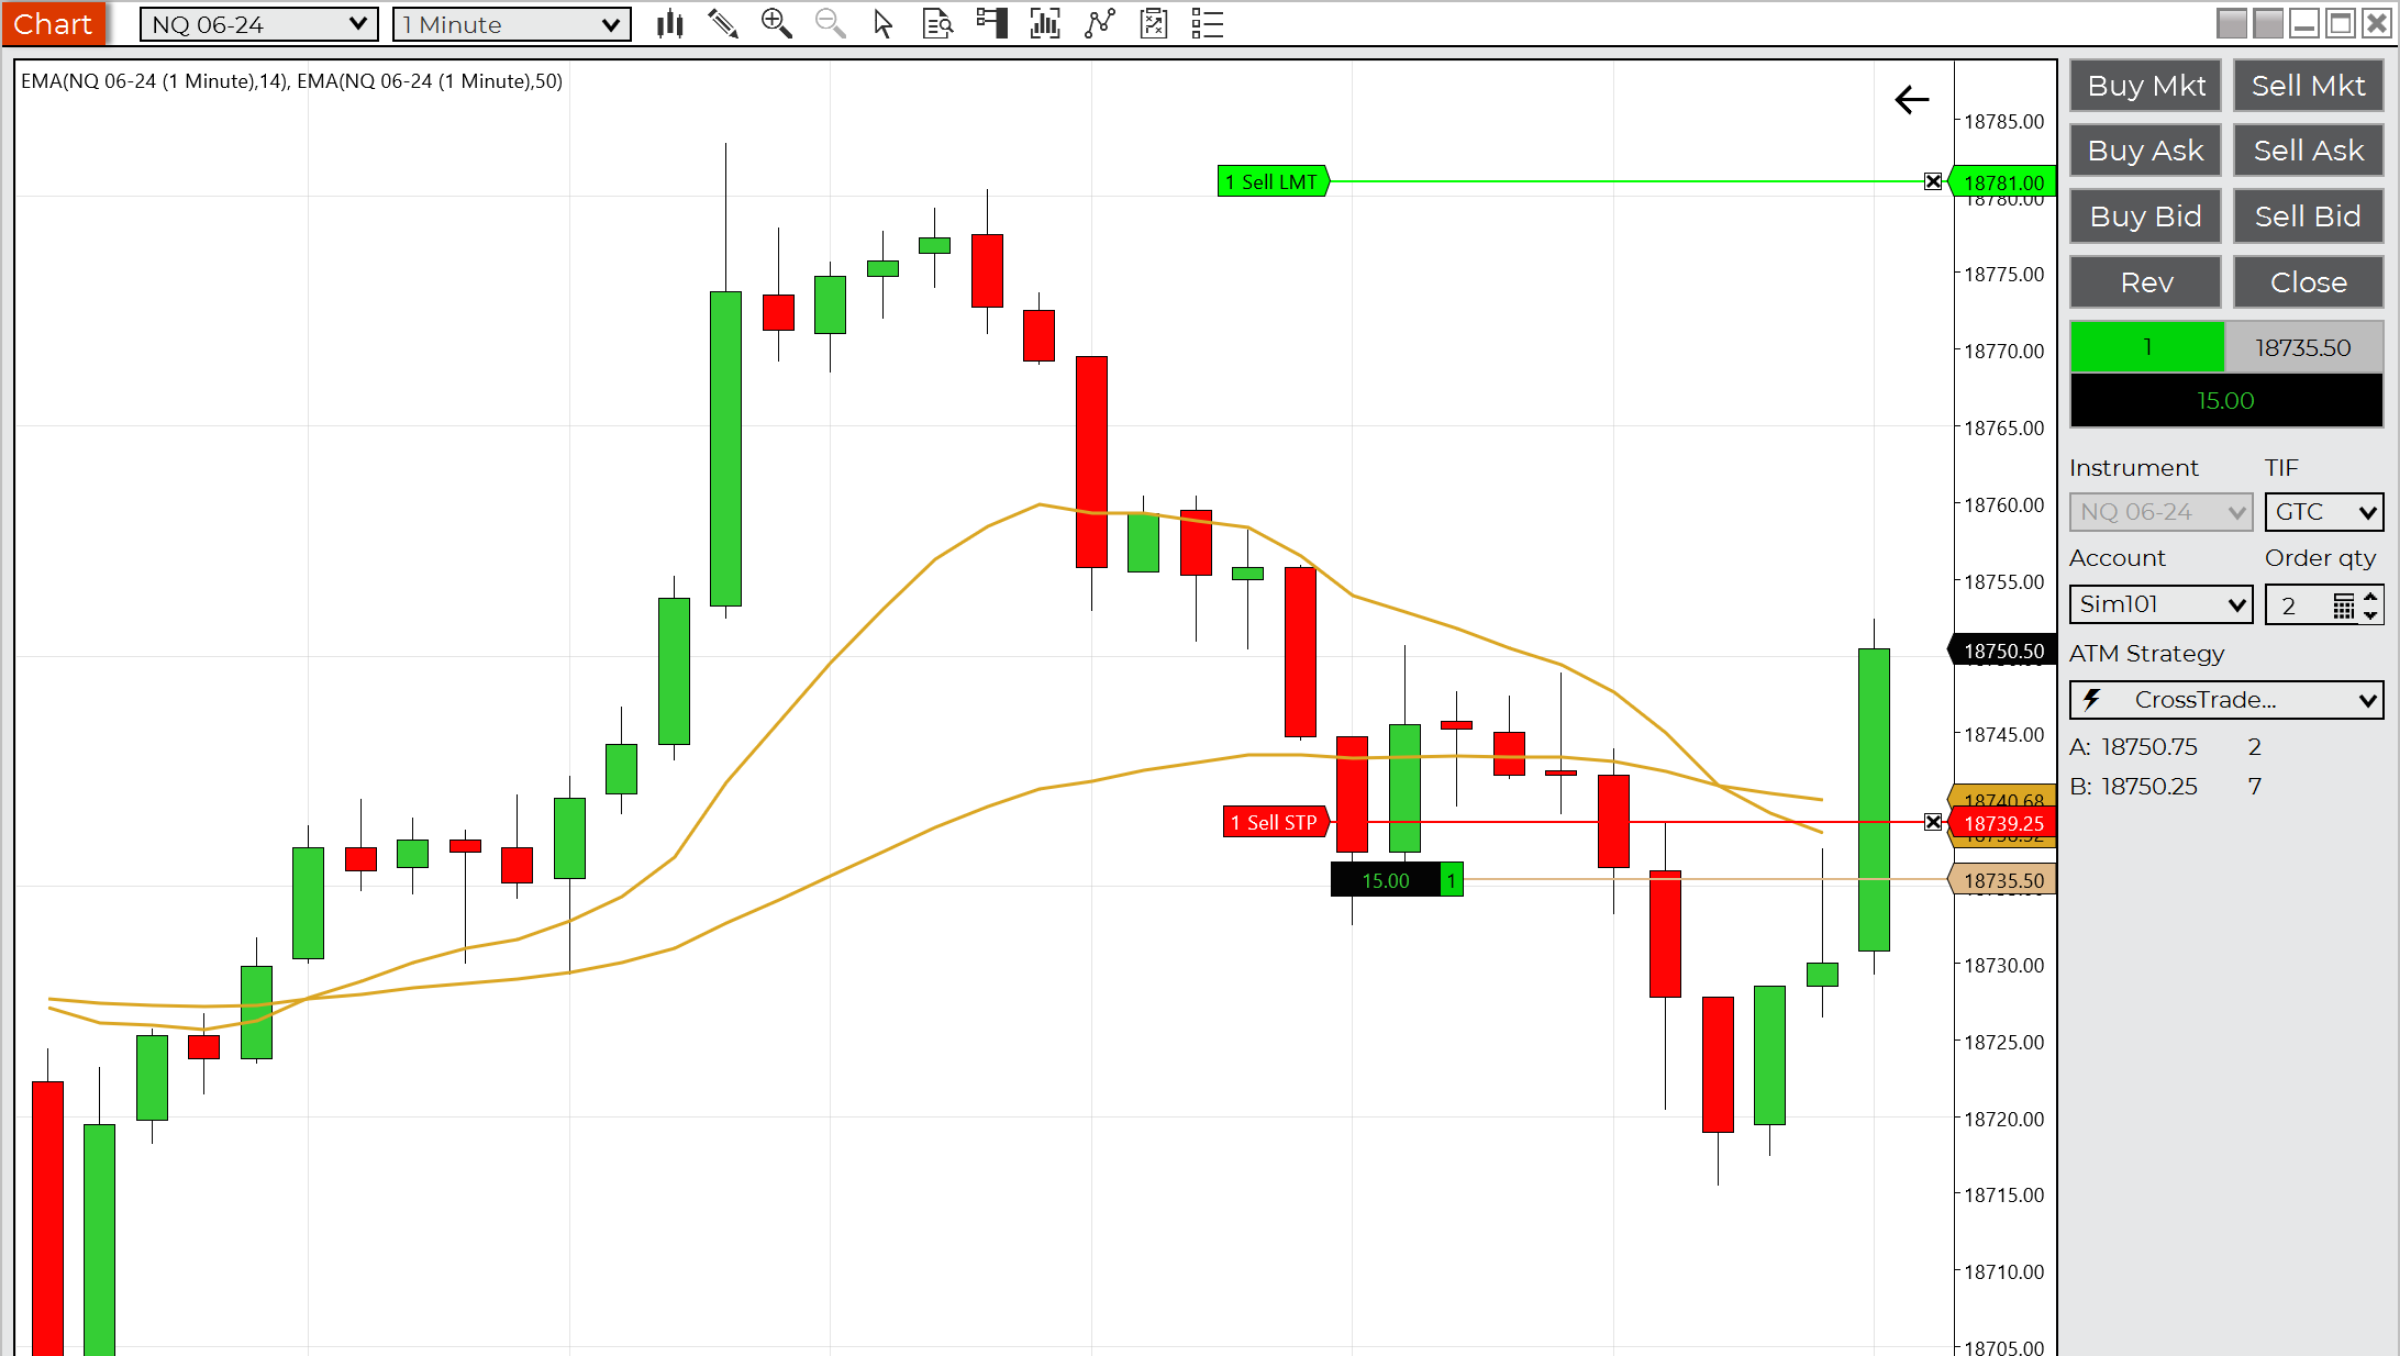
Check your NinjaTrader account tab or the Trades panel — you should see a filled market buy for 1 ES contract on sim101. On the CrossTrade side, the Alert History page logs every webhook received with timestamps and execution details.

That's it. You just sent your first TradingView alert to NinjaTrader through CrossTrade.
What's Next
You've confirmed the pipeline works. From here, the paths diverge depending on what you're building:
Automating a TradingView strategy? The guide to automating TradingView strategies walks through using Pine Script's alert_message variable to send dynamic commands based on strategy entries and exits.
Need bracket orders (stop loss and take profit)? Add take_profit and stop_loss parameters to your PLACE command, or attach an ATM strategy. The Complete Guide to NinjaTrader Commands covers every option.
Want to build commands without memorizing syntax? The Automation Wizard on the Webhooks tab walks you through it step by step with dropdowns and fields.
Trading multiple accounts? Add more account names separated by commas: account=sim101,sim102,sim103; — one alert, multiple fills, no copier needed.
For the full command reference and all CrossTrade enhancements, the Help Docs are the canonical source.